

Hello face painter, friend! You’ve come to the right place if you’re ready to learn an impressive and unique design for….Na-na-na-na na-na-na-na Na-na-na-na na-na-na-na BATMAN!
This tutorial will teach you how even with no skill at painting faces YOU can paint this fun character design on the job. It’s simpler than it looks, and if you follow along with the tips you’re sure to learn excellent skills you can apply to other designs you paint too.
Let’s get started!
Products Used:
- White: Pxp Peter Tronser edition (or your favorite waxy white like Diamond FX or Wolfe)
- Black: Pxp Peter Tronser edition (or your favorite waxy black like Diamond FX or Wolfe)
- Rainbow Cake: “Juicy Fruit” or “Sunset Pixie” by Silly Farm
- Ivory: Superstar
- Dark Brown: Superstar
- Onestroke: homemade consisting of black, dark blue, mid blue, shimmering white – no-product (Alternative: Global “Dolphin Dive”)
- Homemade bat stencil (alternative: Ooh! Bat Wrap W18)
- Finger dauber
- Half round sponge
- Aliyah angled brush ½ – (Alternative: Blazin’ Brush angled 1/2”)
- Round #2 brush by KingArt
- Round #4 brush by KingArt
The right tools make all the difference for fast, easy face painting! Check out our Face Painting Supplies Guide to learn the best materials and where to get them.

STEP 1:
Using a half round sponge and a splitcake, I sponge in the background of this design. I want to attain a sunset look, and the pixie sunset rainbow cake is a great colour combination for this purpose.
Next, I stencil on some bats in black using a finger dauber and a homemade stencil I’ve cut out on my silhouette plotter.
I leave enough space to paint the Batman mask, so the bats are placed pretty high on the forehead. Using two different shapes of bats adds extra interest to the background as opposed to repeating the same bat.

STEP 2:
Next I paint a heart shape with an ivory colour for Batman’s face.
Then I load my angled brush with my onestroke, darkest colour (dark blue/black) on the tip and I start by painting Batman’s ears. I start at the top and make sure the tips of the ears are pointing slightly inwards, actually pointing in the direction of the top focal point (on top of the head).
With the same brush and onestroke, I follow Batman’s face with the darkest colour right next to the face, enclosing it. I paint a sharp tip on the child’s nose, to set myself a guideline for the shape of the mask.
“So what do you charge for a design like this?” Face painters charge hourly, and better artists charge more!
Check this out: here’s an article on everything you need to know about setting fair rates and pricing!

Left and right of Batman’s face I paint two petal-like strokes, following a 45 degree angle line on the forehead. I hold the bottom of my brush on the skin and paint a round top with the tip of my brush, making sure the first bump is slightly bigger than the second one.
I continue to use a 45 degree angle as my guide to create the remaining top strokes of the mask. I am forming Batman’s billowing cape, always using the darkest color on the outer edges of the mask.
I flip my brush to outline the eye area, and paint the ‘evil eyebrow’ shape finishing in the outer corner of the eye.
The bottom of the mask ends on the cheek focal point and is connected to the tip on the nose with a nice curve. Again flip the brush and paint the inside of the mask underneath the eye.
Masks like this one are especially nice when a child doesn’t like to be painted on the eyelids making it suitable for sensitive children as well.

STEP 3:
To create the illusion of Batman’s cape, I paint three long strokes going from the outer top corners of the mask down to the cheeks. End the strokes in sharp tips pointing toward the chin focal point.
Notice how the lines start thin at the mask, become thick, and then end in thin points. They’re also differing in size, with the middle one having the longest ‘tip’.
To create the highlights, I load my onestroke with the shimmering white color on the tip. Apply highlights on the mask, the bridge of the nose, the cape and Batman’s own mask.

STEP 4:
To attain a more powerful and defined look, I paint white highlights on the corners of the mask, the bridge of the nose, and the mask of Batman and his cape. Any too bold white lines I smudge with my finger.
Also using white, I paint Batman’s eyes on top of the ivory. In the next step, we’re going to surround the white eyes with the rest of Batman’s mask.
Painting white on top of darker colours is a challenge. The white can become muddy instead of the bright white you want to attain, which is my main reason to paint Batman’s own mask in this order: ivory face, white eyes on top of the ivory and finally enclosing it with black as seen in the next step.

If you love the cape in this hero design, I’m sure you’ll love this Superman design as well! These are great coordinated designs for a themed party. Follow along with the full Superman tutorial by Wies Face Painting here!

STEP 5:
I finish Batman’s mask with black and also paint his mouth. You could paint cheeks/dimples as well, but usually there are kids waiting in line, so just painting a mouth like this is a very easy and quick way to mimic his expression.
I also define some of the black outlines in this step to polish the design and smooth it out a bit.

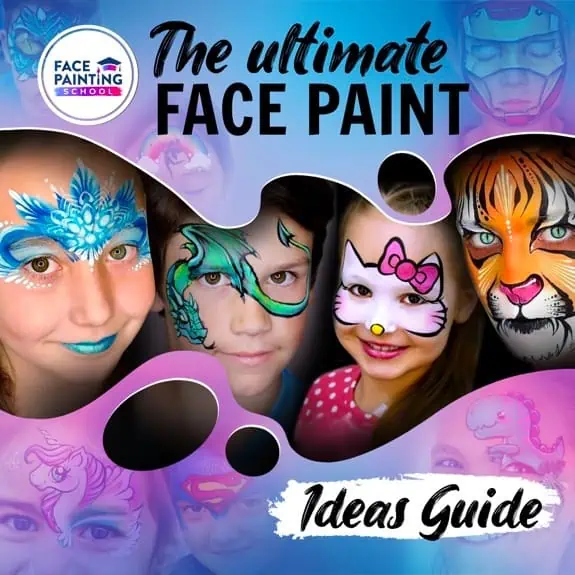
Get inspired with more superhero face paint designs in our Ultimate Face Painting Ideas Guide!
What’s the most common feedback we get from our Inspiration guides? “I can’t believe this is free!!!”
FINAL STEP (optional):
The final step is adding some bright white stars and a bit of shadows. You can add shadows both on Batman’s face underneath his mask with a watery brown color and underneath the full mask you’ve painted on the child’s cheeks.

The Face Painting School has extensive educational material explaining all this in detail. It has definitely made a big impact on my facepainting skills 🌸!

Let me know if you have any questions and make sure to tag me in your pictures if you recreate this, I’d love to see it!
You can contact me/tag me on my Instagram: @wies_facepainting.
Amazed that we’re giving out tutorials this good for free? 😱 You’re going to be absolutely delighted with what we’re sending our email subscribers! 🤩
With just two clicks, you can join the fun today.
Did you enjoy this guide? Hit “SHARE” and let your fellow face painters know about it!